
Published volume · Free to read
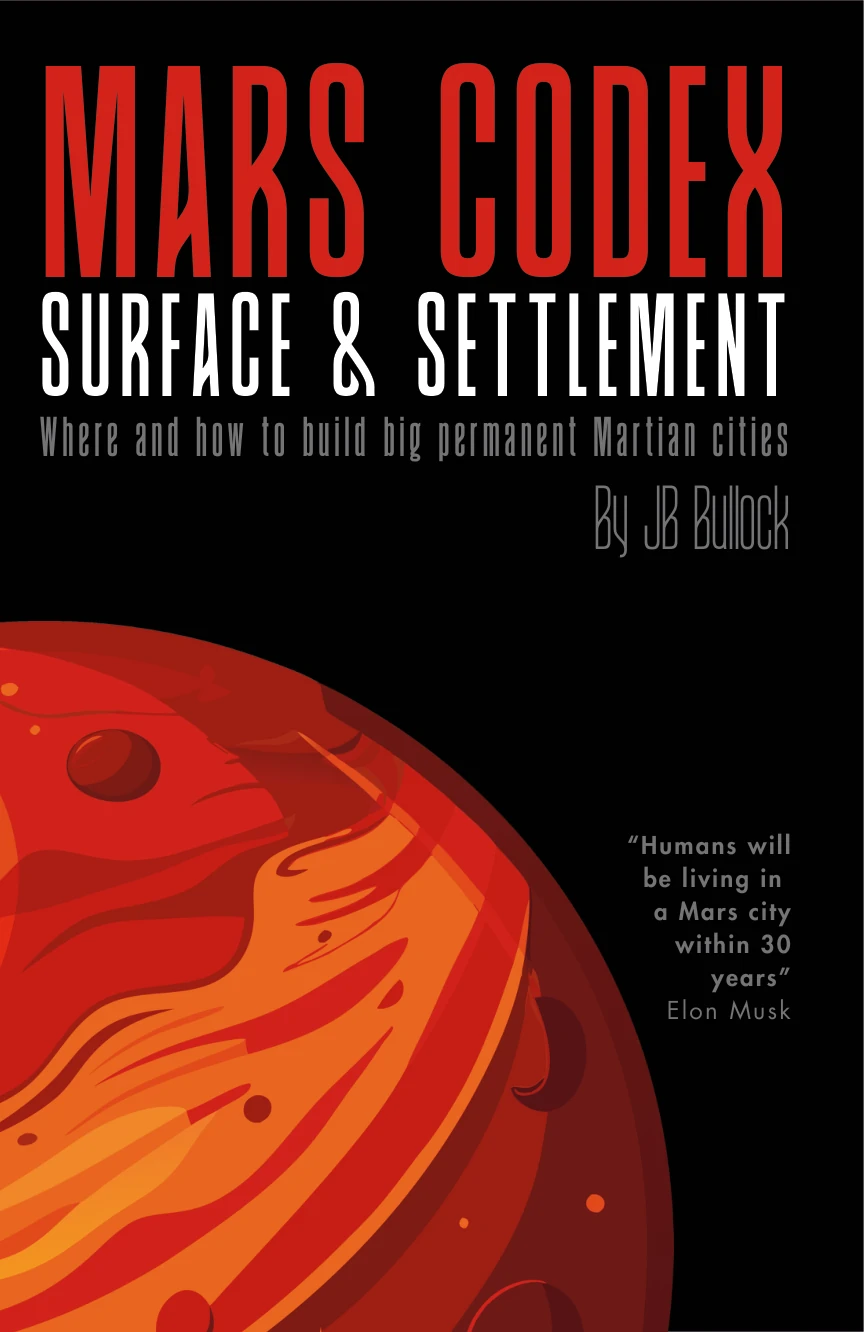
Surface & Settlement
The maps, terrain and settlement systems that make a world habitable.
Contents
- From JayBe: Introduction to This Volume
- Prologue The Setting
- 1. First Footsteps
- Part I. Surface Science
- 2. Gravity & Temperature
- 3. Relief & Regolith
- 4. Atmosphere & Light
- 5. Materials & Mining
- Part II. Segmenting Mars
- 6. Maps & Masterplans
- 7. Zones & Bands
- 8. The Quads
- 9. Mapping Mars
- Part III. Siting A City
- 10. The Long Game
- 11. Quad Strategy
- 12. Regional Radii
- 13. Site Selection
- Part IV. Settlement Design
- 14. Earth’s Initial Blueprints
- 15. Less-Dumb Requirements
- 16. Settlement Stages
- 17. Settlement Crew Sorties
- 18. Settlement Basecamp (Bootstrapping)
- 19. Settlement Structures
- 20. Settlement Layouts
- 21. Settlement Wedges
- 22. Settlement Satellites
- 23. Settlement BOM (Bill of Mass)
- Part V. Historical Hindsight
- 24. Settlement Timelines
- 25. The Second City
- Epilogue: Codex Conclusions
- 26. Build The Planet That Builds
- Appendix From Encyclopedia Galactica
- A1. Mars Planet Surface
- A2. Zones & Bands
- A3. Zones of Longitude
- A4. Bands of Latitude
- A5. The Quads - Overview
- A6. The Quads – North Mid Latitudes
- A7. The Quads – North Low Latitudes
- A8. The Quads – South Low Belt
- A9. The Quads – South Mid Latitudes
- A10. The Quads – Polar Caps (North & South)
- A11. Mars Grid System (MGrid)
- A12. Complex Layout Score (CLS)
- A13. Settlement Layout Design Elements
- A14. Settlement Layout Canonical Examples
- A15. Settlement Layout Details Stage
- Appendix B From The MarsX Archives
- B1. Port Harmonia Delta Quad Layout
- B2. Port Harmonia Working Wedges Layout
- B3. Strategic Siting Diagnostic
- B4. Strategic Quad Selection
- B5. Strategic Zand Selection
- B6. Local Siting Diagnostic
- B7. Local Siting Selection & Terrain Usage
© JB Bullock. All rights reserved. Free online reading does not authorize redistribution or republication.
Have a suggestion or correction? Reader Feedback — Coming Soon